
Values
Setup
1
Install Roo Code
Install Roo Code from the VS Code extension marketplace.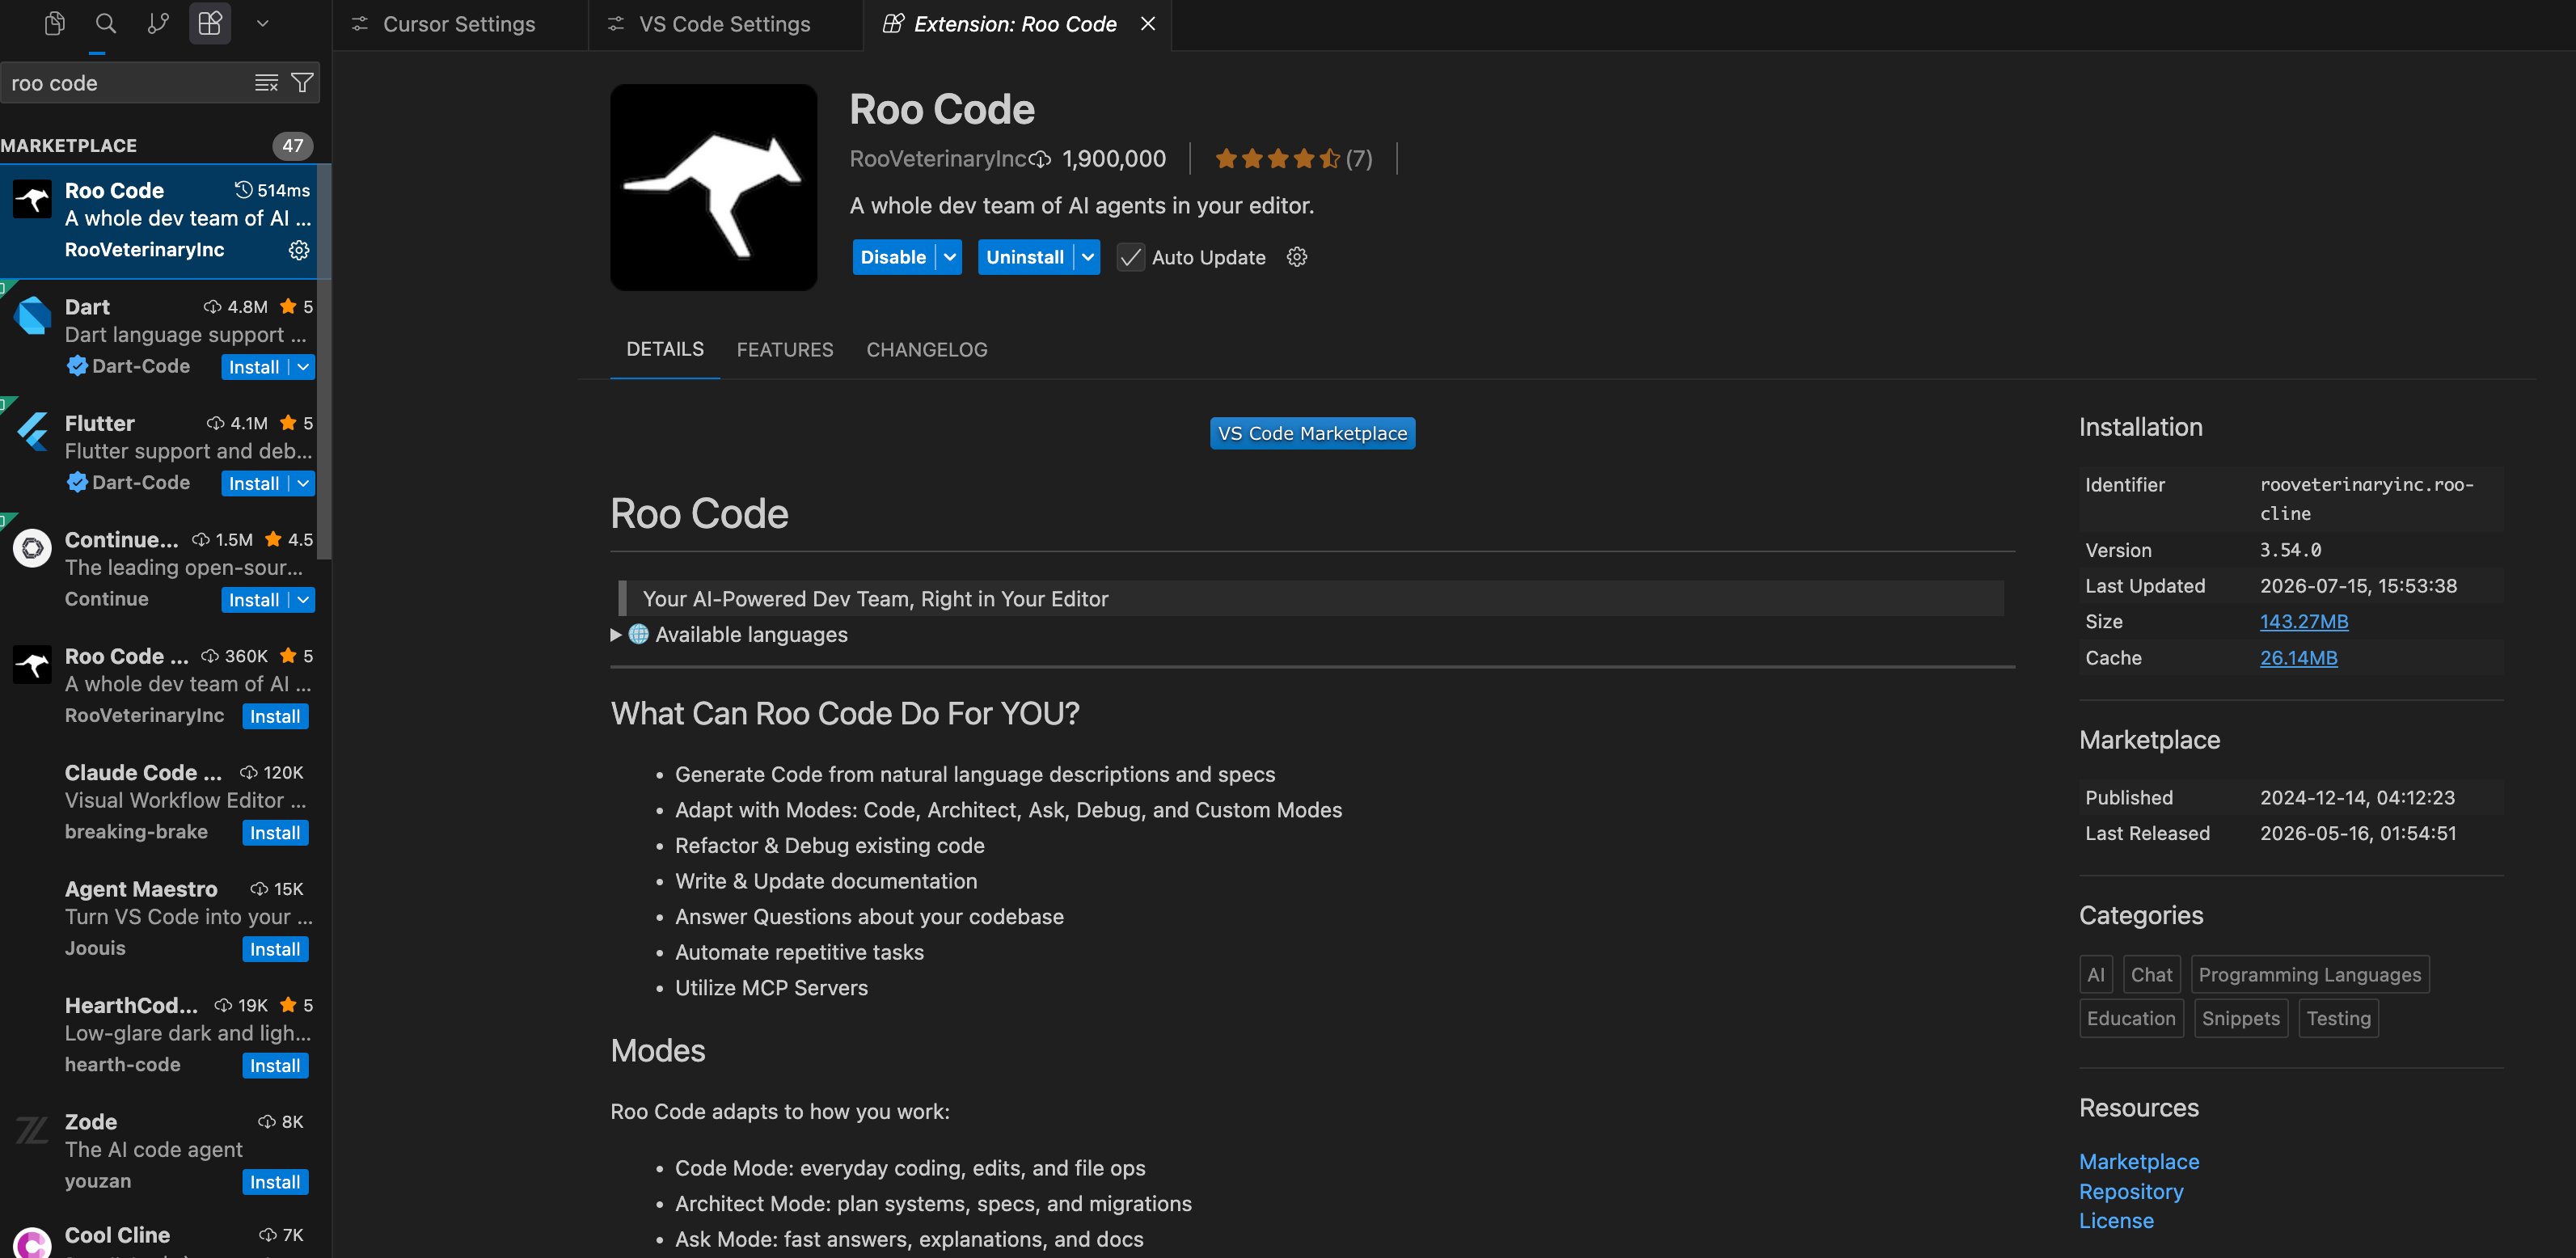
2
Open API configuration
Open Roo Code API Configuration or model settings.
3
Choose an OpenAI-compatible provider
Select OpenAI Compatible or custom OpenAI as the provider.
4
Enter endpoint settings
Set Base URL to
https://moxus.ai/v1 and API Key to your Moxus AI sk- key.5
Enter the model name
Use the exact model name from Models and pricing as Model ID.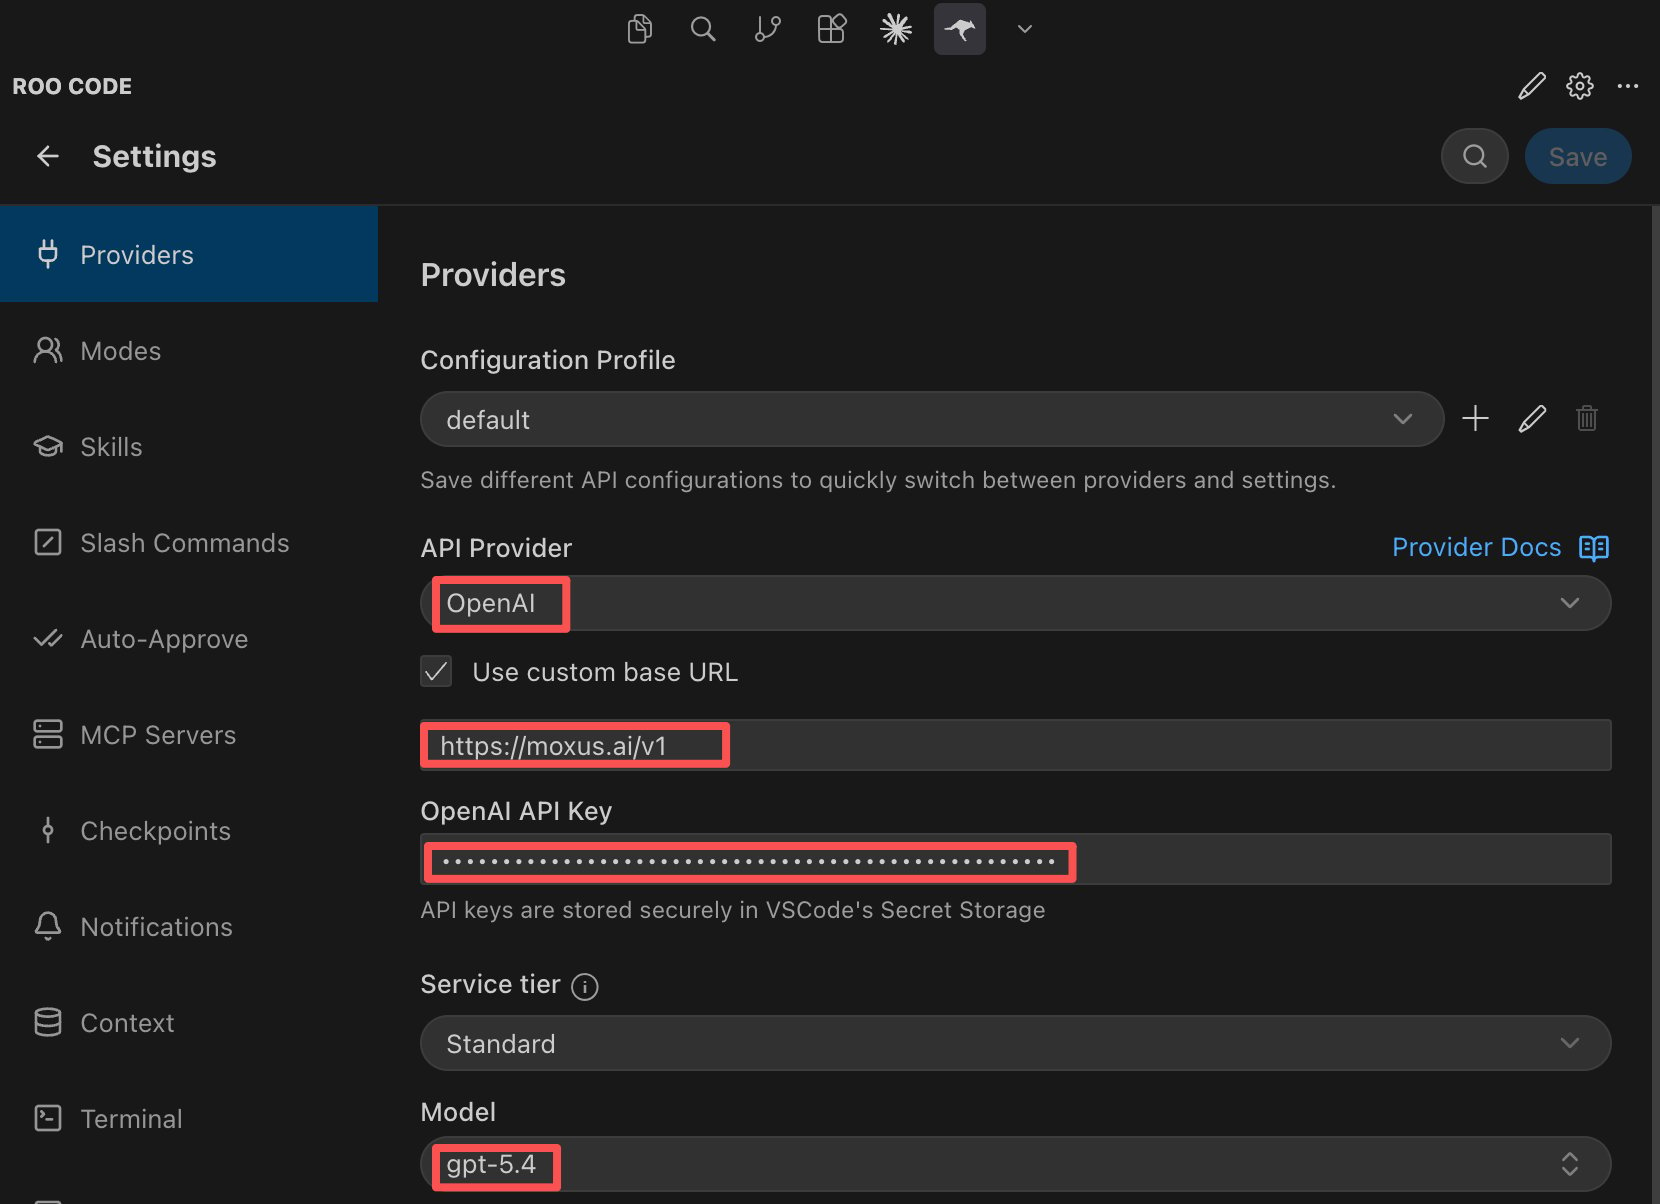
6
Start chat runs
Open the chat view, select the model you just configured, and send a request.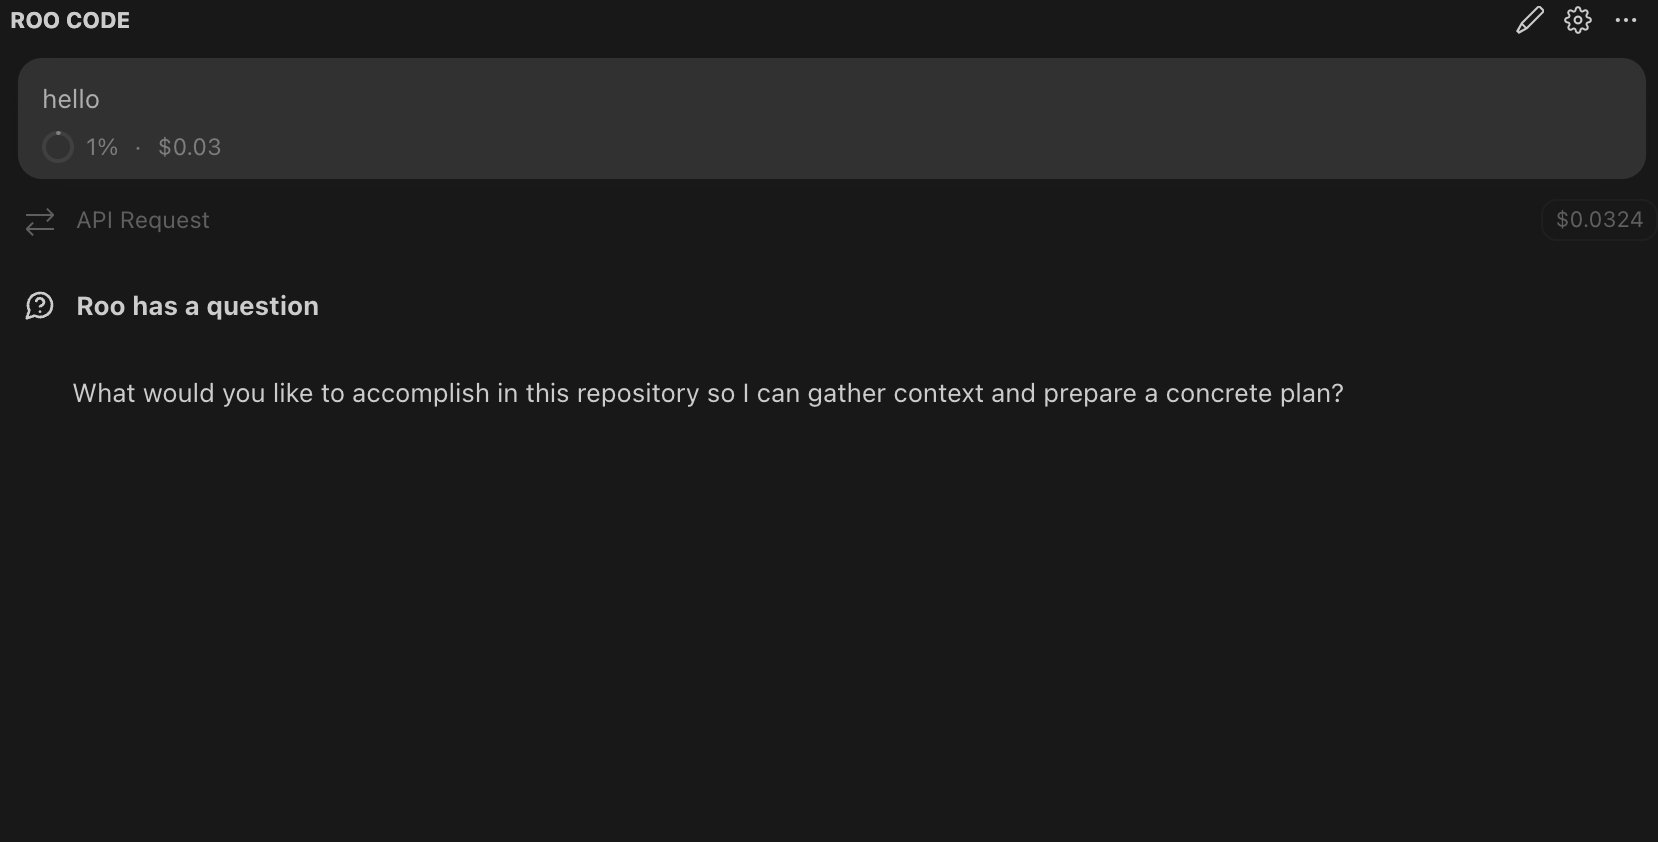
Recommendations
- Test with Ask or a read-only task first.
- Review commands before allowing the extension to run them.
- Create a separate API key for Roo Code and set a quota limit.
- Keep task scope narrow for multi-file edits.
Troubleshooting
Should I choose OpenAI or OpenAI Compatible?
Should I choose OpenAI or OpenAI Compatible?
Prefer OpenAI Compatible or custom OpenAI. Set Base URL to
https://moxus.ai/v1.Does the model support tool use?
Does the model support tool use?
It depends on the selected model. For tool use and complex code editing, choose a model with stronger coding and tool-call behavior.
The extension sends too many requests
The extension sends too many requests
Reduce auto-approval, narrow file scope, and set a quota limit on the API key used by Roo Code.