> ## Documentation Index
> Fetch the complete documentation index at: https://docs.moxus.cloud/llms.txt
> Use this file to discover all available pages before exploring further.
# Roo Code
> Configure Moxus AI as an OpenAI-compatible provider in Roo Code.
Roo Code is a VS Code agent extension that can read project files, run commands, and edit code. To connect it to Moxus AI, use an OpenAI Compatible or custom OpenAI provider.
## Values
| Field | Value |
| -------- | ------------------------------------------------- |
| Provider | OpenAI Compatible / OpenAI Compatible API |
| Base URL | `https://moxus.cloud/v1` |
| API Key | `sk-your-key` |
| Model ID | Copy the exact model name from Models and pricing |
## Setup
Install Roo Code from the VS Code extension marketplace.
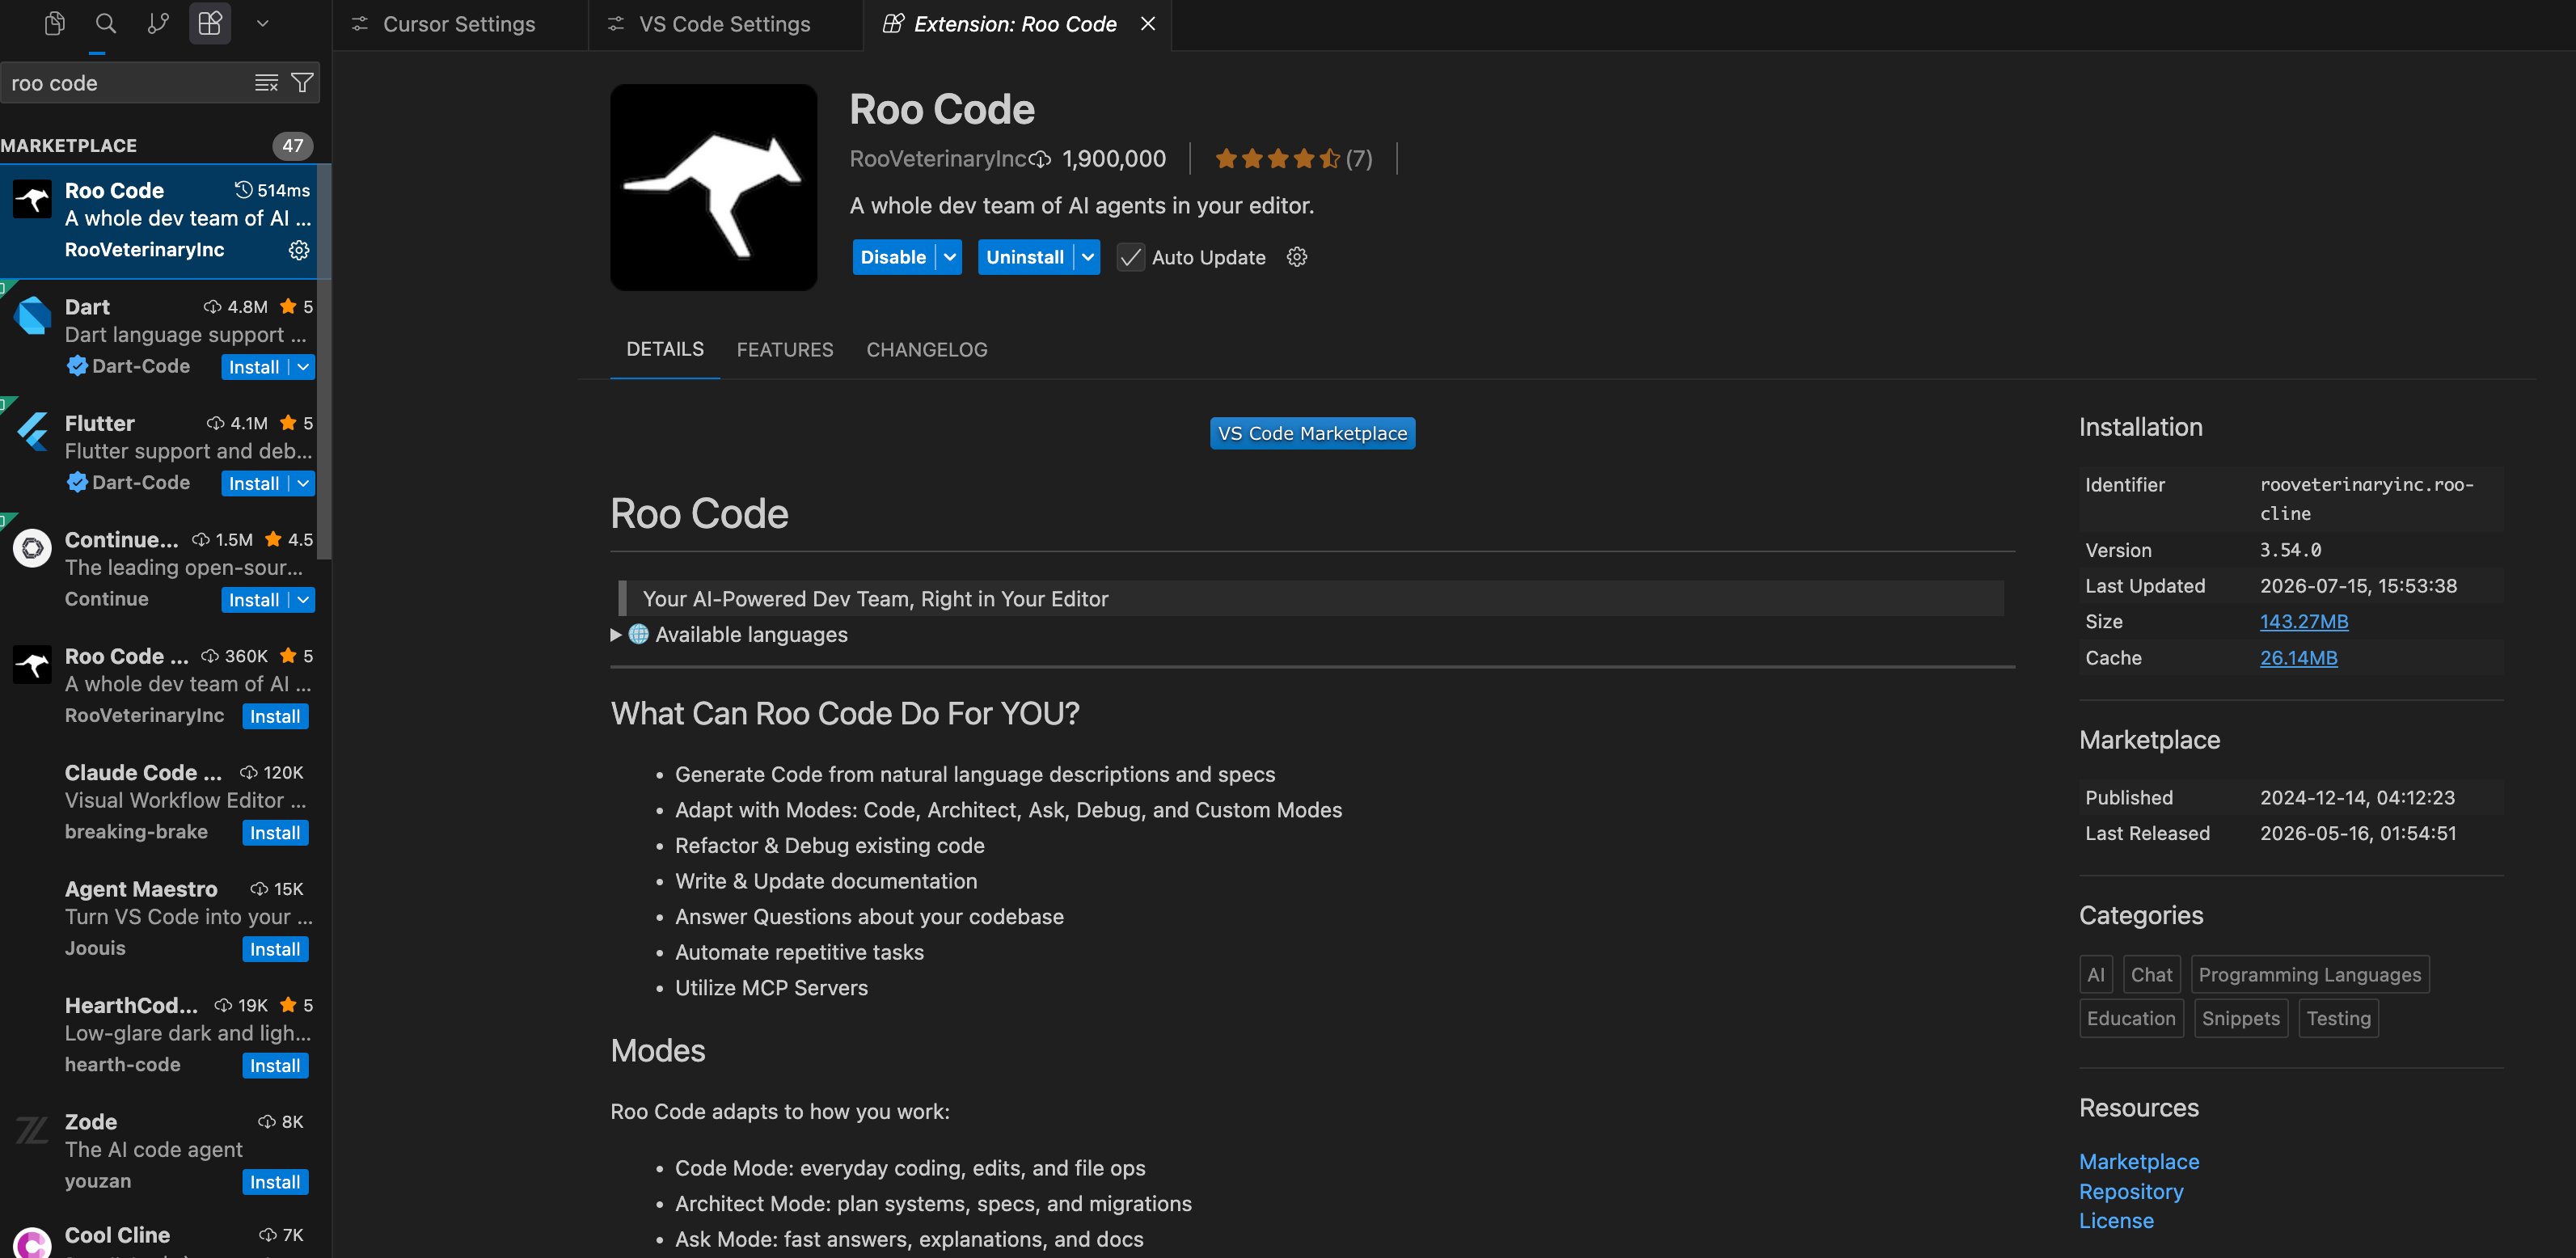 Open Roo Code API Configuration or model settings.
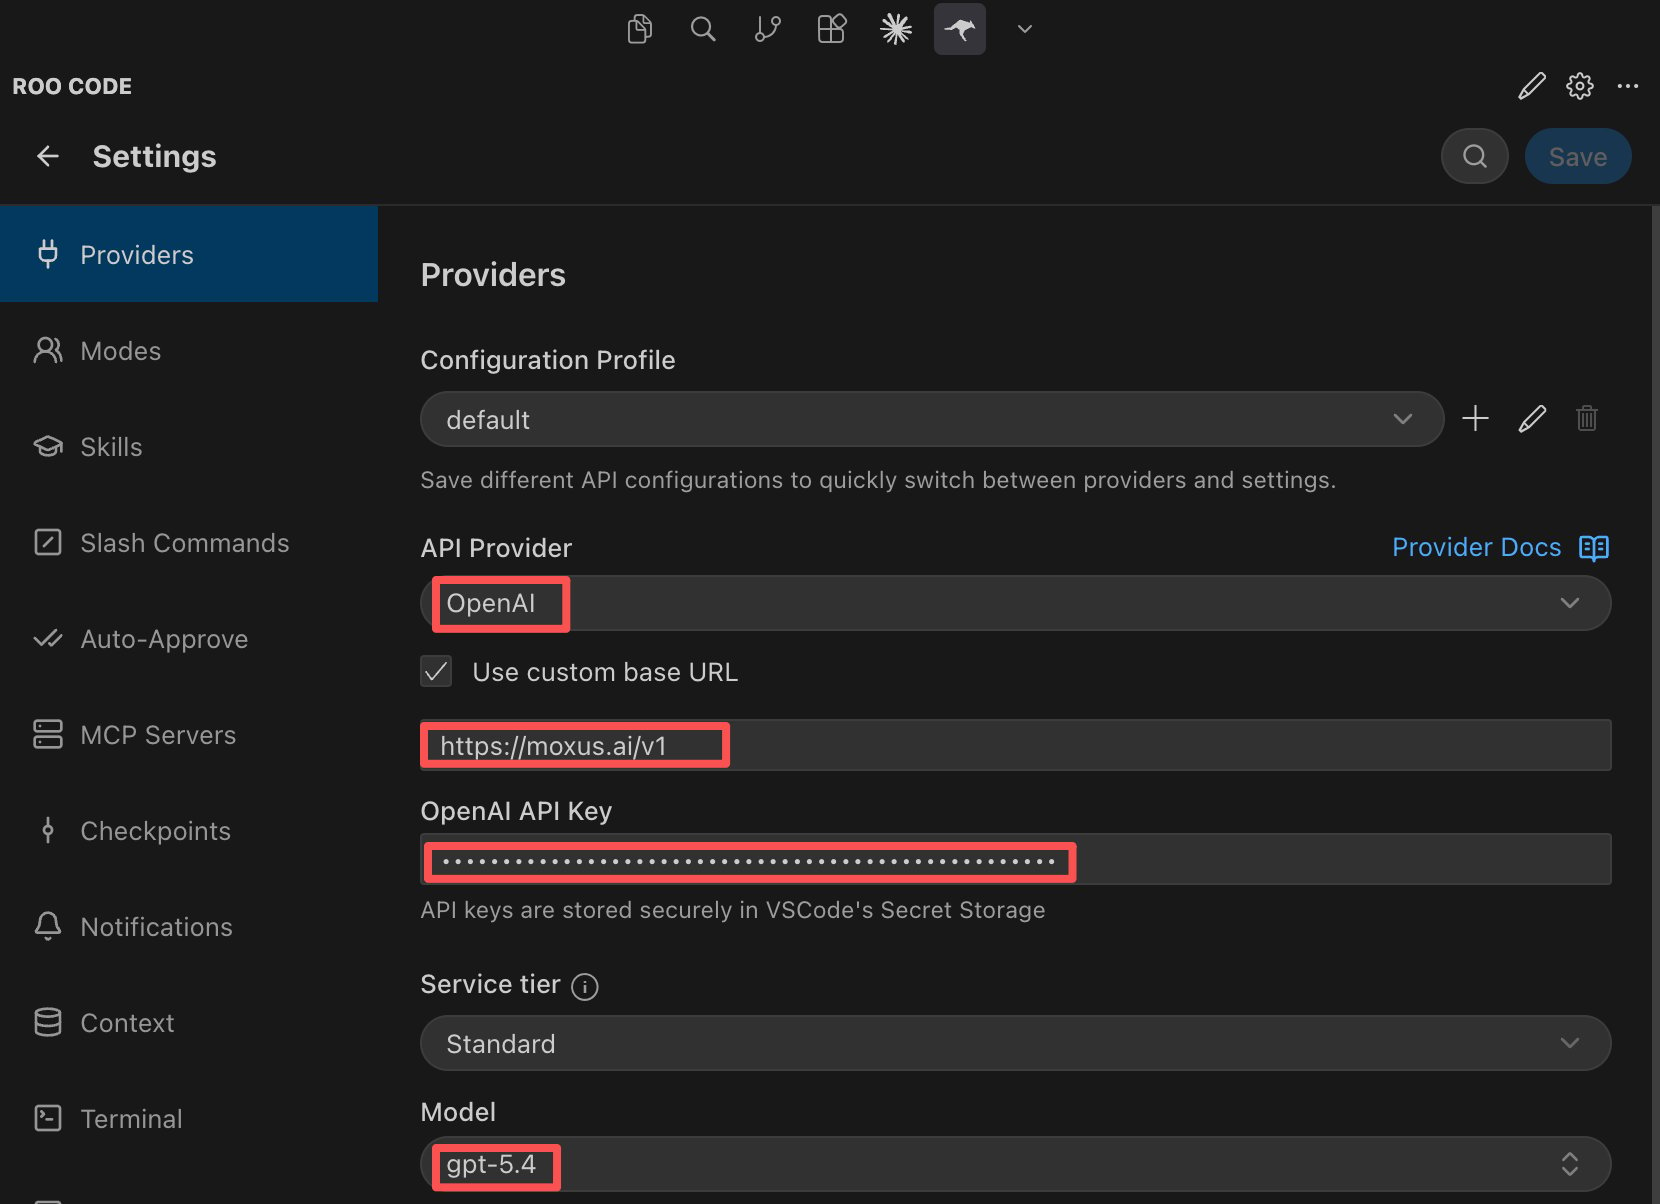
Select OpenAI Compatible or custom OpenAI as the provider.
Set Base URL to `https://moxus.cloud/v1` and API Key to your Moxus AI `sk-` key.
Use the exact model name from Models and pricing as Model ID.
Open Roo Code API Configuration or model settings.
Select OpenAI Compatible or custom OpenAI as the provider.
Set Base URL to `https://moxus.cloud/v1` and API Key to your Moxus AI `sk-` key.
Use the exact model name from Models and pricing as Model ID.
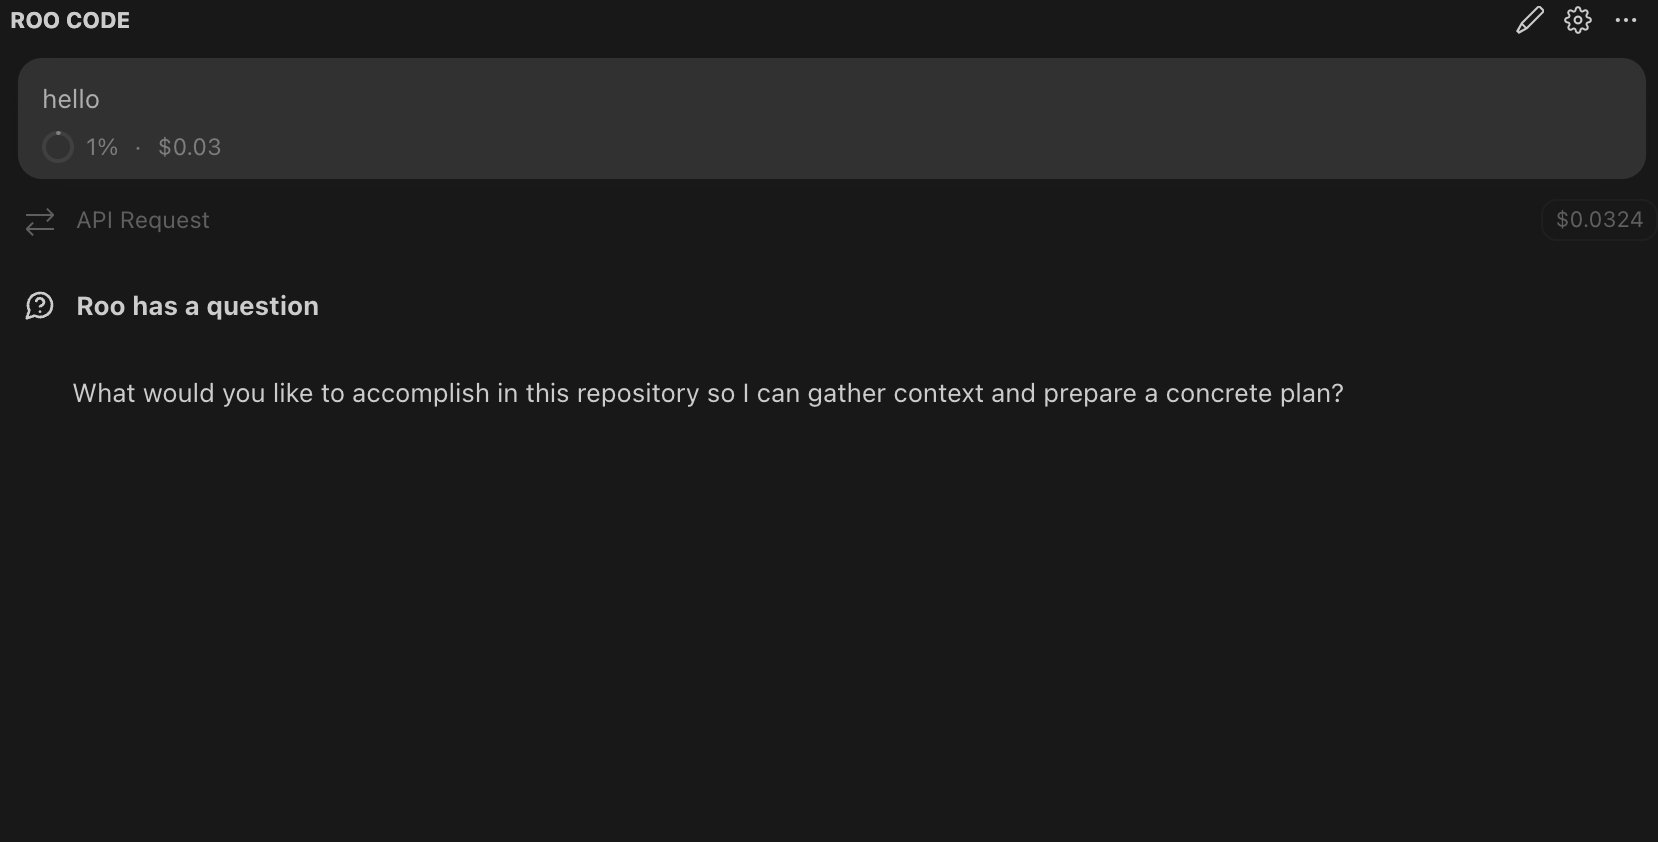
 Open the chat view, select the model you just configured, and send a request.
 ## Recommendations
* Test with Ask or a read-only task first.
* Review commands before allowing the extension to run them.
* Create a separate API key for Roo Code and set a quota limit.
* Keep task scope narrow for multi-file edits.
Roo Code can read files, run commands, and modify code. Use it only in trusted projects and be careful with auto-approval settings.
## Troubleshooting
Prefer OpenAI Compatible or custom OpenAI. Set Base URL to `https://moxus.cloud/v1`.
It depends on the selected model. For tool use and complex code editing, choose a model with stronger coding and tool-call behavior.
Reduce auto-approval, narrow file scope, and set a quota limit on the API key used by Roo Code.
## Next steps
* [API keys](/en/platform/account-and-keys)
* [Usage](/en/platform/dashboard-and-usage)
## Recommendations
* Test with Ask or a read-only task first.
* Review commands before allowing the extension to run them.
* Create a separate API key for Roo Code and set a quota limit.
* Keep task scope narrow for multi-file edits.
Roo Code can read files, run commands, and modify code. Use it only in trusted projects and be careful with auto-approval settings.
## Troubleshooting
Prefer OpenAI Compatible or custom OpenAI. Set Base URL to `https://moxus.cloud/v1`.
It depends on the selected model. For tool use and complex code editing, choose a model with stronger coding and tool-call behavior.
Reduce auto-approval, narrow file scope, and set a quota limit on the API key used by Roo Code.
## Next steps
* [API keys](/en/platform/account-and-keys)
* [Usage](/en/platform/dashboard-and-usage)